


Diamond Anniversary Photo Shoot – Staffordshire
At the end of last year I was asked to do take some photos at a 60th Wedding Anniversary in Staffordshire. It …

New Born Photography in Kent
On New Year’s Eve, we welcomed the newest member of my family into the world and last week I managed to get …
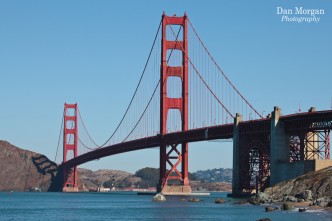
USA 2013 – San Francisco
The final leg of our roadtrip saw us returning to where we had flown in – San Francisco – but this time …
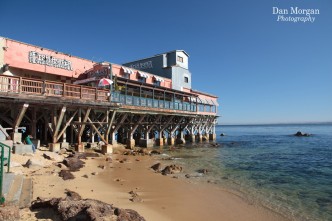
USA 2013 – Monterey
The next leg of our roadtrip took us on up the Pacific Coast to Monterey and onwards to San Francisco. Monterey was …

USA 2013 – Los Angeles and the Pacific Coast Highway
The next phase of our journey took us towards Los Angeles, but on the way I wanted to stop by a landmark …

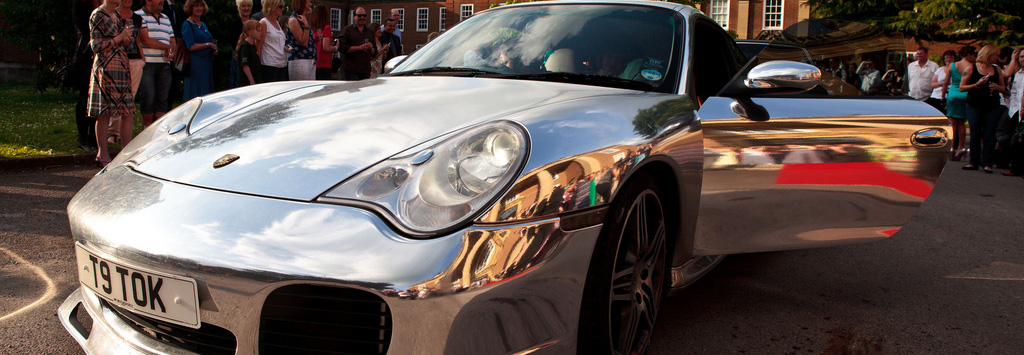
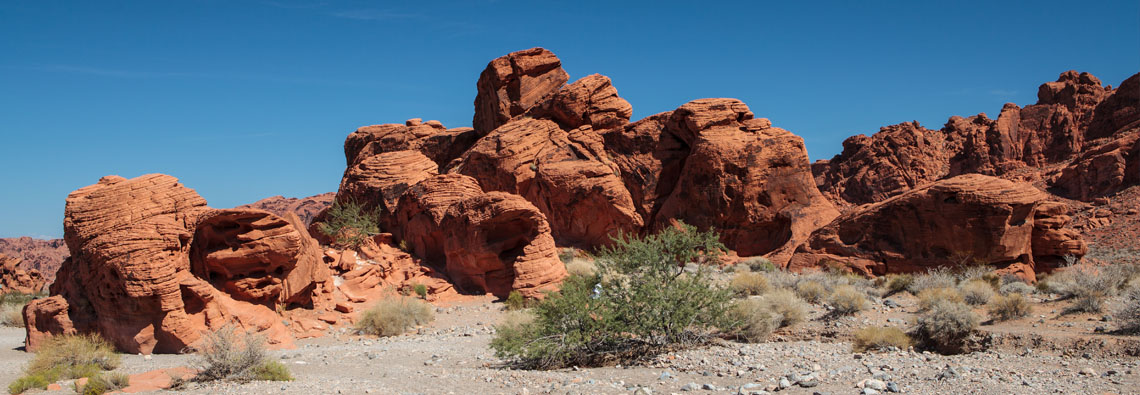
USA 2013 – Nevada
After a busy first week of the holiday we had a chance to relax, let our hair down and have some fun …

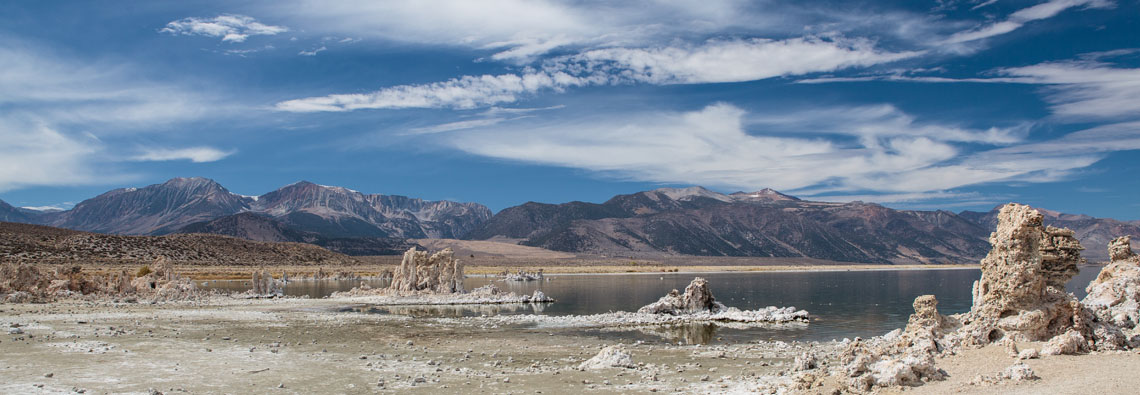
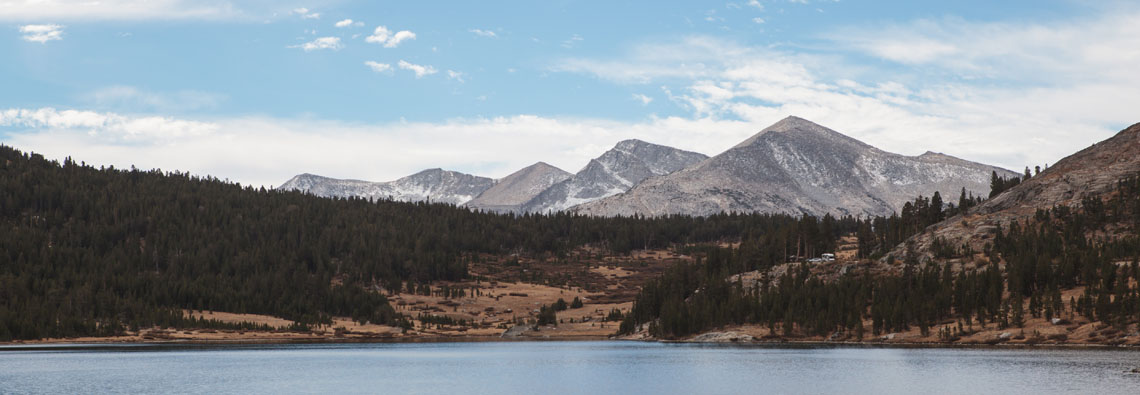
USA 2013 – Tioga Pass, Mono Lake, Panamint and Death Valley
The next stage of our Roadtrip was the drive from Yosemite to Death Valley. This turned out to be one of the …
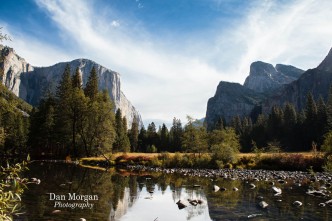
USA 2013 – Napa, Oakdale & Yosemite
This is the first of several posts I intend to make about a fantastic roadtrip my wife an I went on in …

Halloween Horror at Universal Studios Hollywood
Last week we got back from a Roadtrip around the Western USA, covering California and Nevada. I am still sorting through the …